
How to Read a Sterilization Biological Indicator: A Beginner's Step-by-Step Guide
NHNathan Hostetter · November 3, 2026 · 5 min read
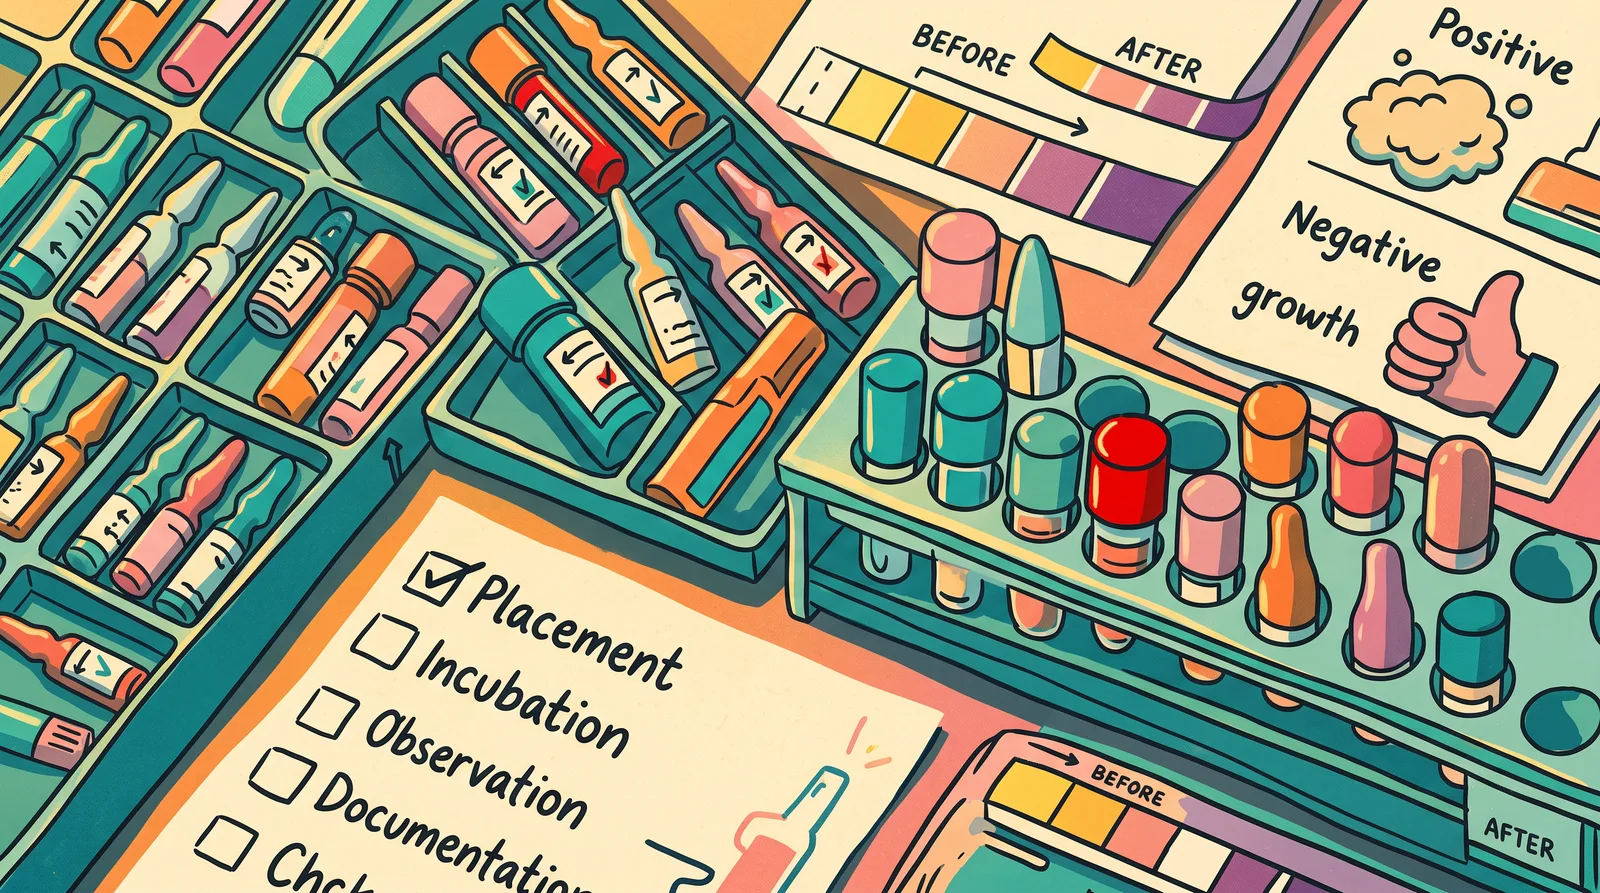
If you're new to sterile processing, the biological indicator — or BI — can feel like one of the more intimidating parts of your day. It's small, it looks almost too simple, and yet it carries enormous weight. A failed BI can trigger a load recall affecting dozens of surgical cases. No pressure, right?
Here's the good news: reading a BI correctly is a learnable, repeatable skill. Once you understand what it is and why each step matters, the process clicks into place fast. Let's walk through it together.
What Is a Biological Indicator, Really?
A biological indicator is a quality-control device that contains actual living bacterial spores — specifically Geobacillus stearothermophilus for steam sterilizers and Bacillus atrophaeus for EO (ethylene oxide) sterilizers. These particular species are used because they are among the most resistant organisms known. The logic is straightforward: if your sterilization process can kill these spores, it can kill virtually anything a contaminated surgical instrument might carry.
A BI doesn't measure temperature, pressure, or time directly. It measures biological kill — which is why it's considered the most definitive sterilization quality test available. Chemical indicators and physical printouts tell you the cycle ran; the BI tells you it worked.
What's Inside the Vial?
Most modern BIs used in SPD are self-contained: a small plastic vial with a spore strip on one end and a glass ampoule of growth medium (a nutrient broth) on the other. After the sterilization cycle, you crush the ampoule inside the vial to release the broth onto the spore strip, then place the vial in an incubator. If any spores survived sterilization, they'll find that warm broth and start growing — and the indicator will tell you so, usually through a color change.
Step-by-Step: How to Process and Read a BI
Step 1: Place the BI correctly in the load. The BI should go in the most challenging location for sterilant penetration — typically the geometric center or the area identified by your sterilizer manufacturer's instructions and your facility's policy. Many facilities also use a process challenge device (PCD), which the BI is placed inside to simulate a worst-case instrument load.
Step 2: Run your sterilization cycle as normal. The BI rides through the full cycle with the load. Never interrupt a cycle to retrieve it early.
Step 3: Retrieve the BI after the cycle. Allow the load to cool according to your facility's policy before unloading. Retrieve the BI using gloves — the vial has been in a hot sterilizer and may still be warm.
Step 4: Activate the BI (crush the ampoule). Hold the vial firmly and apply pressure to the designated crush zone — usually a marked area on the side of the vial. You'll feel and hear the glass ampoule snap inside. This releases the growth medium onto the spore strip. Follow the manufacturer's instructions exactly; under-crushing means incomplete activation.
Step 5: Place it in the incubator immediately. Self-contained BIs for steam sterilization are incubated at 55–60°C (131–140°F) for the time specified by the manufacturer — typically 24 hours for standard BIs, or as little as one to three hours for rapid-readout BIs. Always use the incubator designed for your specific BI brand. Temperature accuracy matters.
Step 6: Place a control BI in the same incubator. A control BI is an unprocessed vial from the same lot — it was never put through a sterilizer. It goes in the incubator alongside your test BI. The control should turn positive (show growth), which confirms the spores in that lot were alive and viable to begin with. If your control doesn't turn positive, something is wrong with the BI product itself, and the results are invalid.
Step 7: Read the result. At the end of the incubation period, compare your test BI to the control and to the color reference on the manufacturer's packaging.
- Negative result (PASS): The test BI shows no color change — it typically remains purple for most steam BI brands. This means no growth occurred. Sterilization was successful.
- Positive result (FAIL): The test BI changes color — usually to yellow — indicating acid production from bacterial growth. Spores survived. Sterilization cannot be confirmed.
What Happens if the BI Fails?
This is not the moment to panic, but it is the moment to act — and act fast.
A positive BI result means you cannot confirm that load was sterile. Your immediate responsibilities typically include:
- Do not release the load if it hasn't been distributed yet. If items have already been released, notify your supervisor immediately so a recall process can begin.
- Quarantine the load according to your facility's policy.
- Take the sterilizer out of service until it has been inspected, the problem identified, and a successful re-qualification run completed.
- Document everything — the load number, cycle parameters, the failed BI result, and every action taken.
Your facility's infection prevention team and the OR will likely need to be notified. The process feels intense, but it exists to protect patients — which is exactly why you're doing this job.
Why This Step Is Non-Negotiable
The Joint Commission, AAMI standards (specifically ANSI/AAMI ST79), and CMS all require routine BI monitoring. At minimum, most standards call for BI testing every load that contains implants — with results reviewed before those implants are released. Many facilities go further and test every sterilizer, every day.
Understanding the why behind the BI process is what separates a technician who follows steps from one who truly owns their role in patient safety. You are the last line of defense before an instrument enters a patient's body. That's not a burden — it's a privilege worth taking seriously.
If you're preparing to sit for your CSPDT (CBSPD) or CRCST (HSPA) certification exam, sterilization quality monitoring — including biological, chemical, and physical indicators — is a core domain you'll be tested on. The Sterile Processing Academy walks you through all of it in depth, with quizzes and a proctored final exam to make sure you're genuinely ready.
Want to go deeper than a blog post?
Sterile Processing Academy
A comprehensive certification-prep program training new sterile processing technicians in all four core domains — Decontamination, Assembly, Sterilization, and Sterile Storage — with quizzes, tests, and a proctored final exam. Earn a Certificate of Completion accepted toward your CSPDT (CBSPD) or CRCST (HSPA) certification application.
Start learning — $49.99/mo